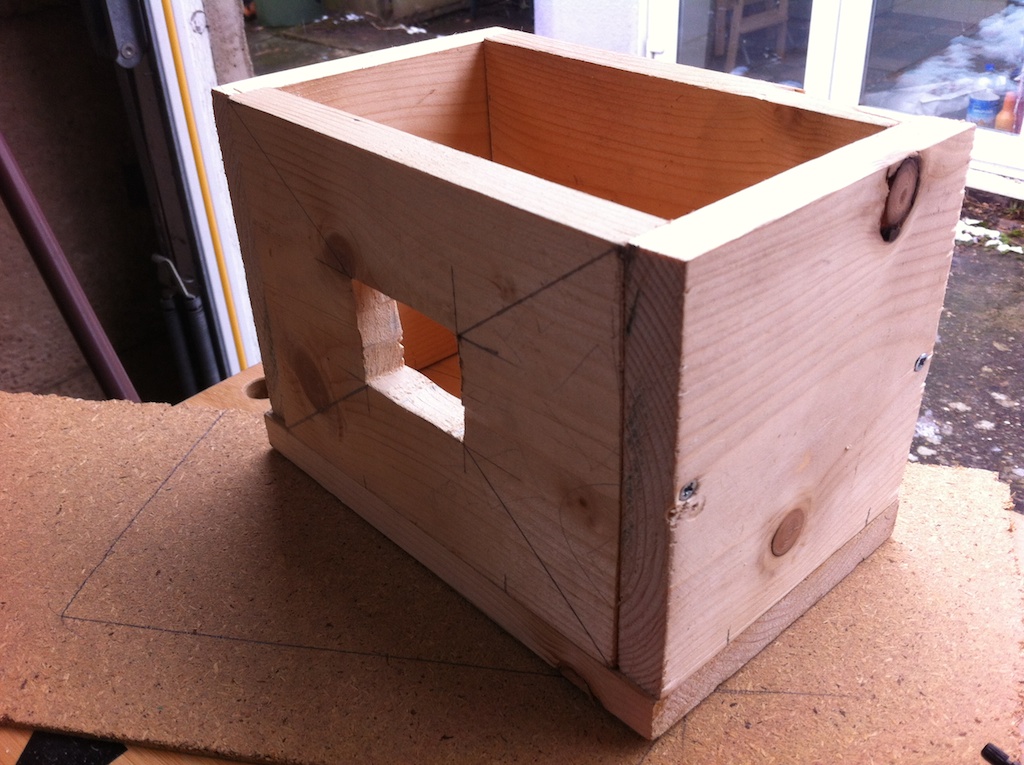
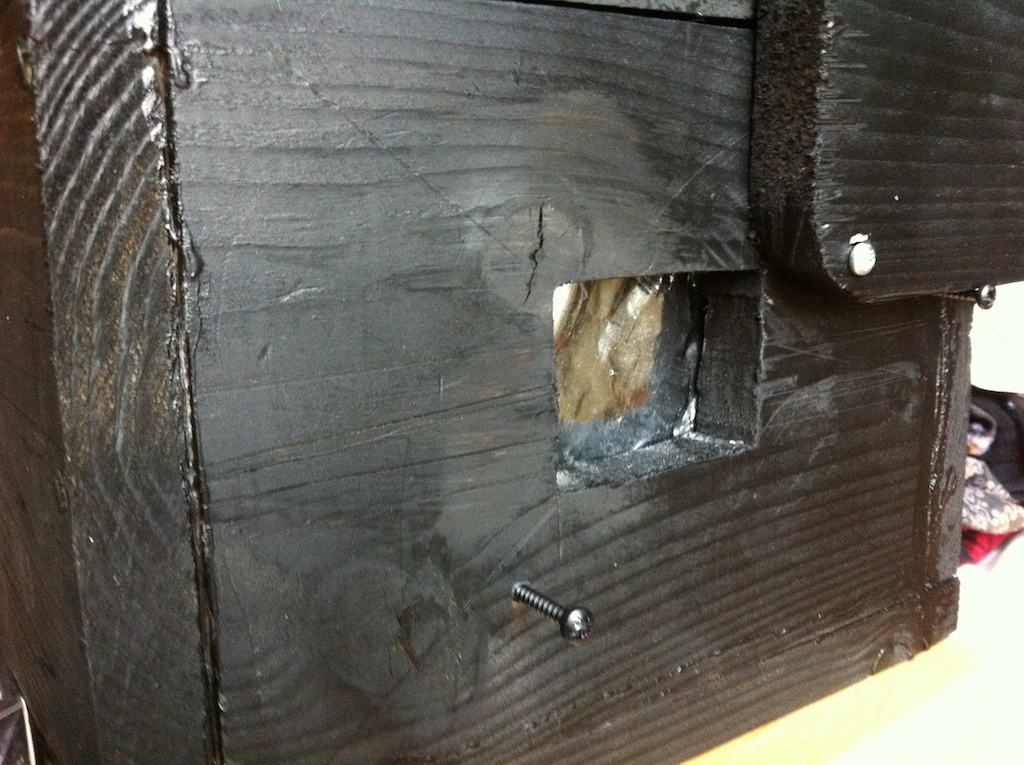
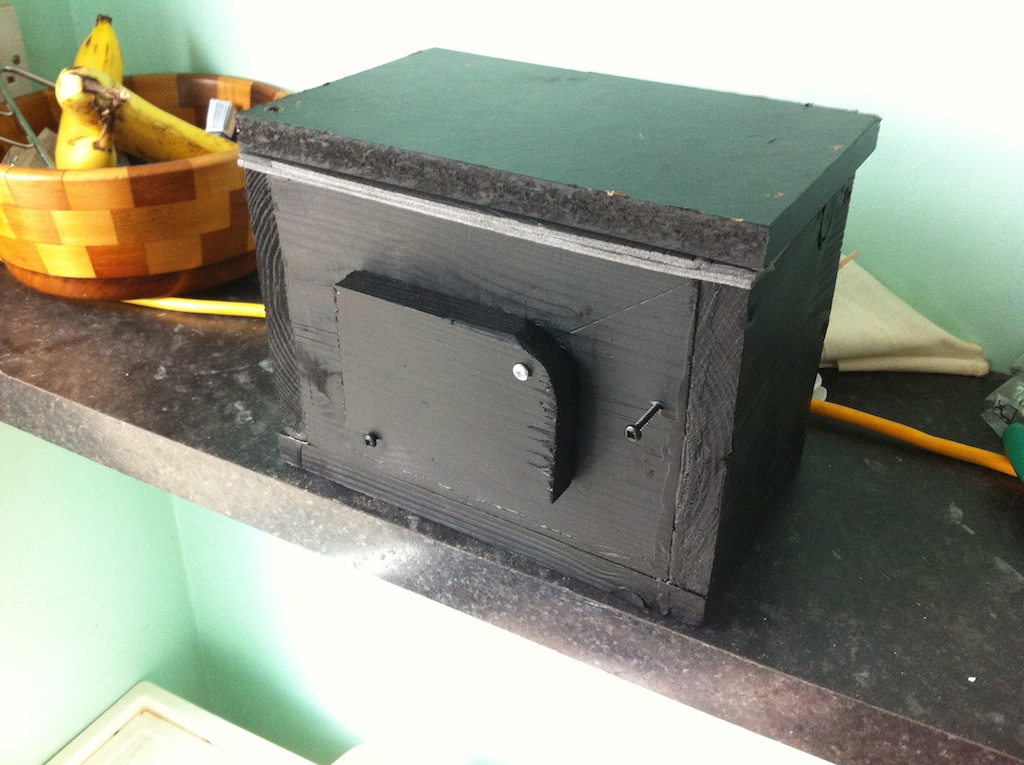
To get some more shots with my fabricated pinhole camera I decided to take it out away from the house. It didn’t go well. As I mentioned with my first shots the biggest challenge was changing the photographic paper. I thought i’d found a solution by taking a black holdall bag out with me. After taking a shot I would put the camera in the bag, which contained the new paper. I’d then zip one arm into it, trying to use the other hand to keep the zip shut. Then change the paper by feel and putting the exposed paper into another light tight bag. It was a nightmare and very fiddly. I took several exposures at three locations. So it was very time consuming. I must have overexposed nearly every image or exposed them to light while trying to swap paper in the bag. All of them were either black or or horribly fogged image that I couldn’t work out which location it was from. To rub salt into the wounds even more some of the decent ones got stuck in the drying machine and got big black marks on them. Was a real shame.
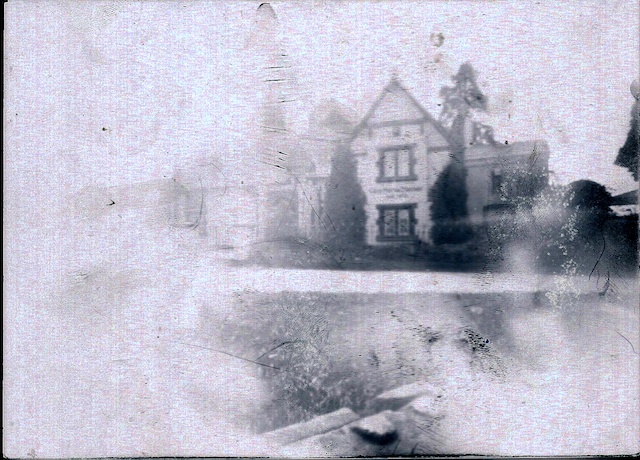
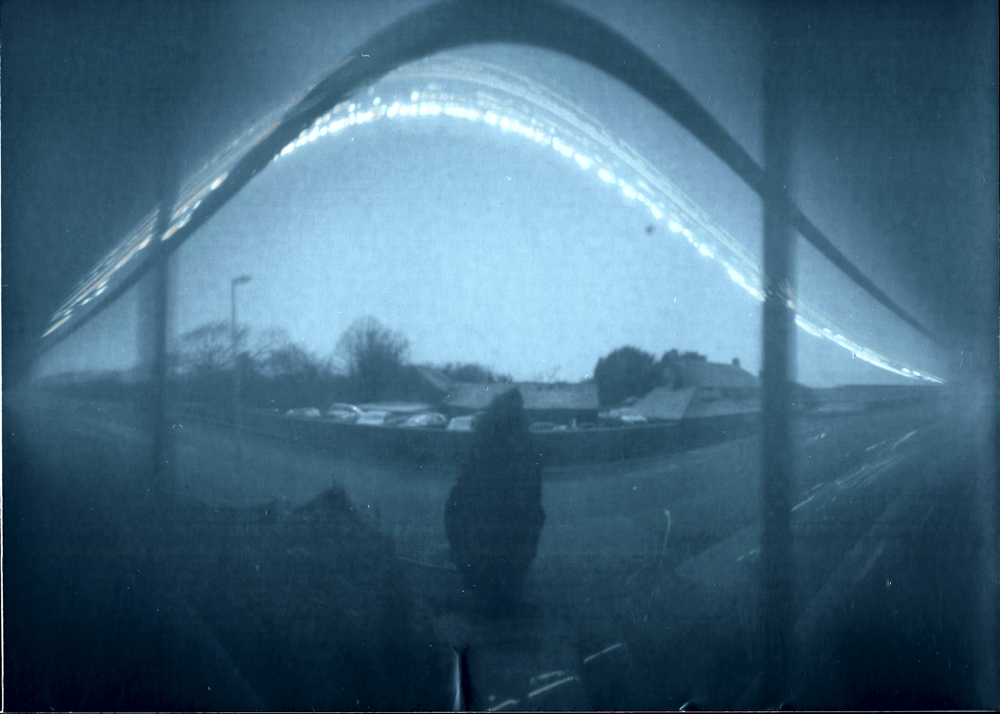
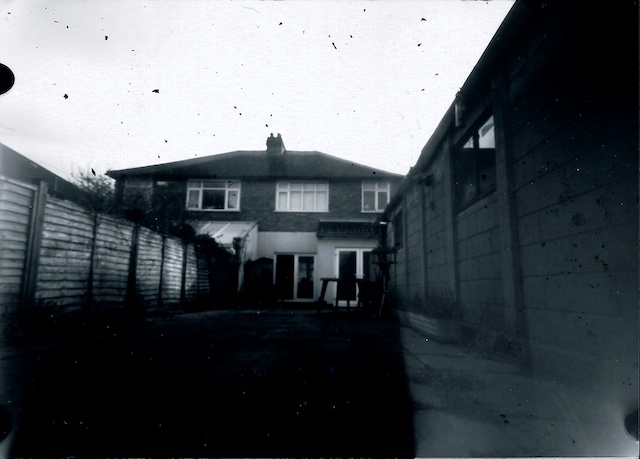
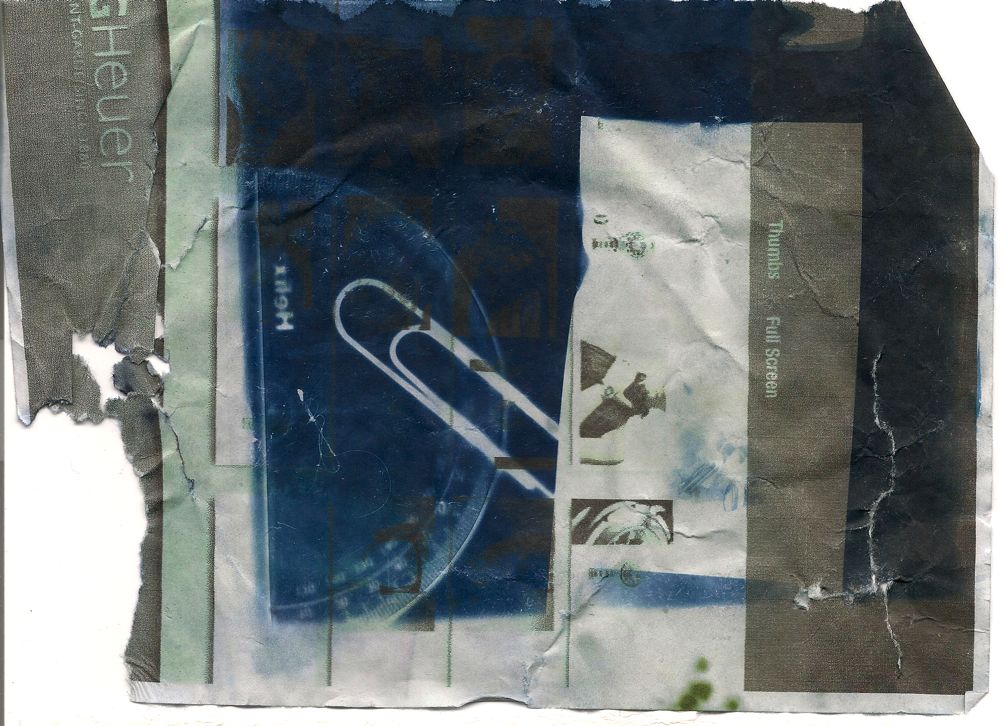
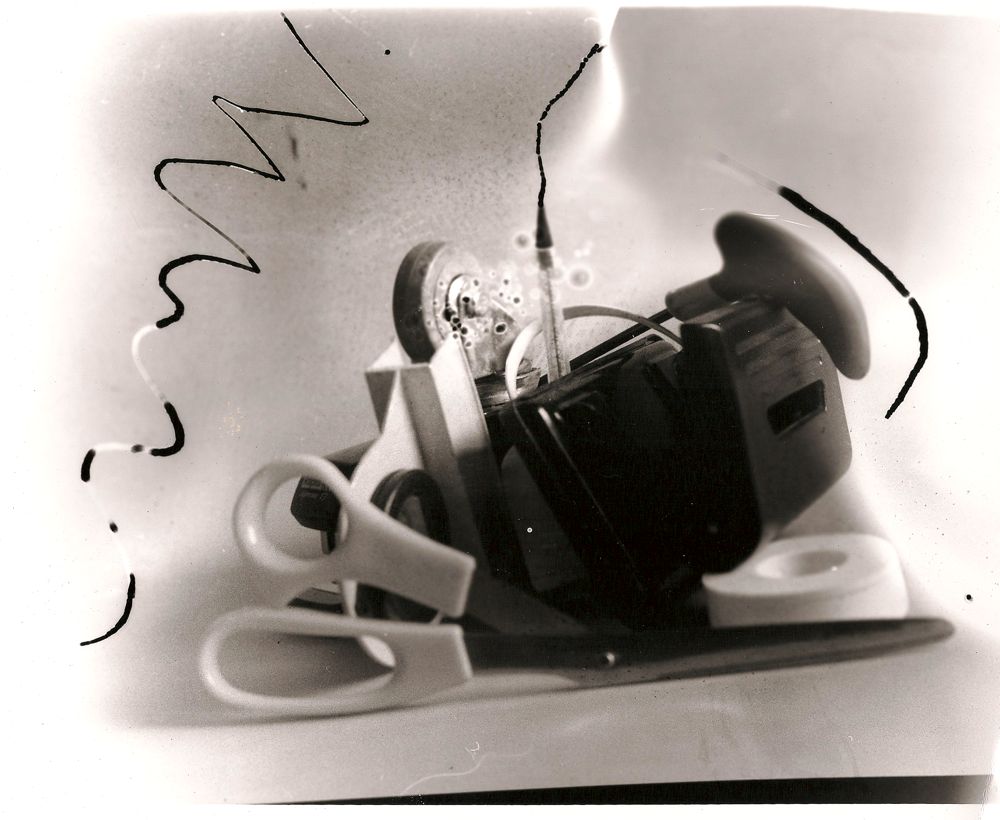
The local pub, nearly works, best image of the lot.
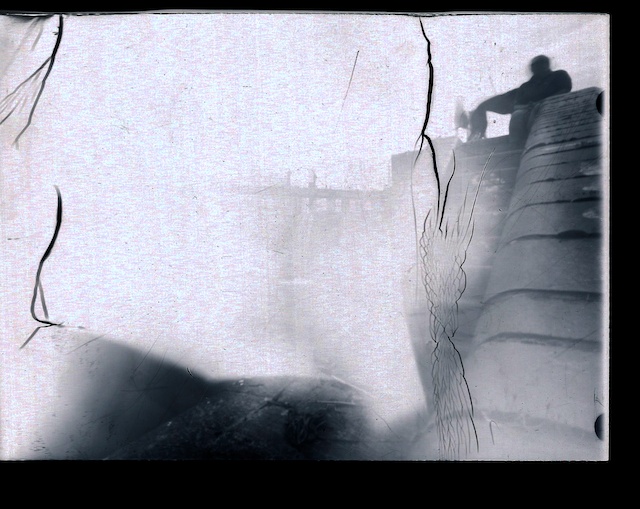
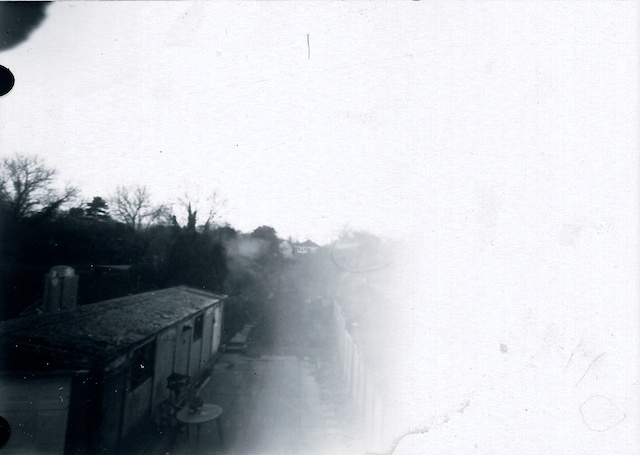
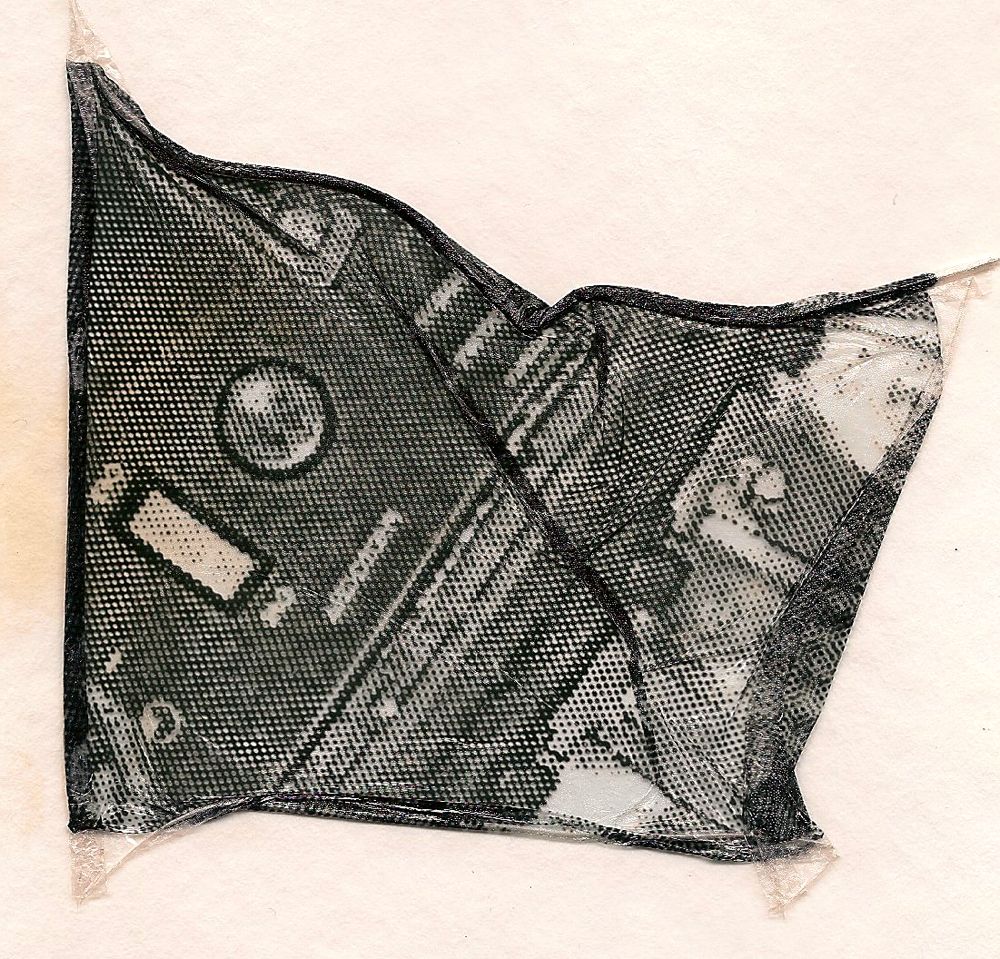
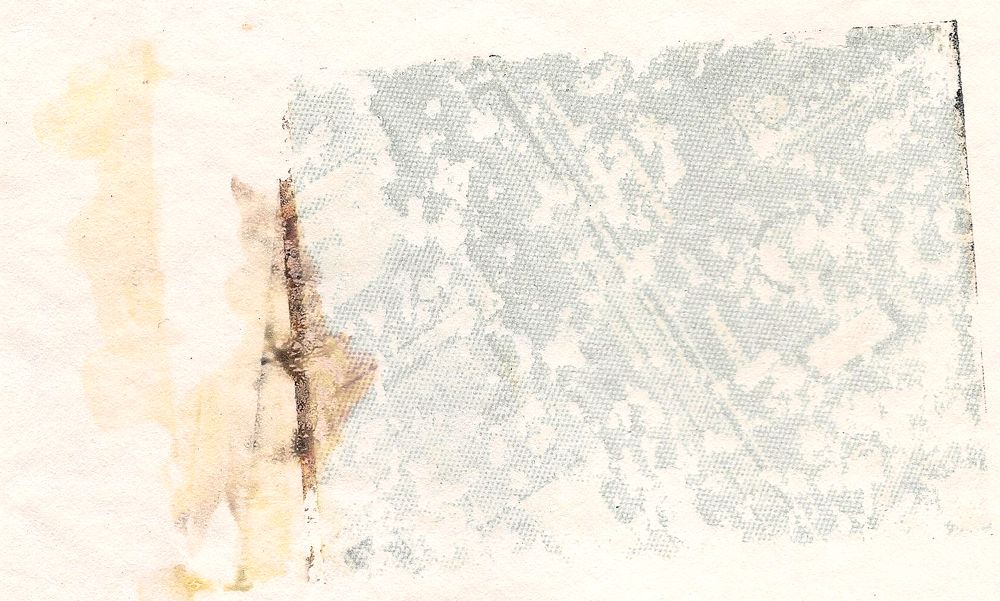
Canal lock. Can make out some brickwork and the outline of my wife in the top right