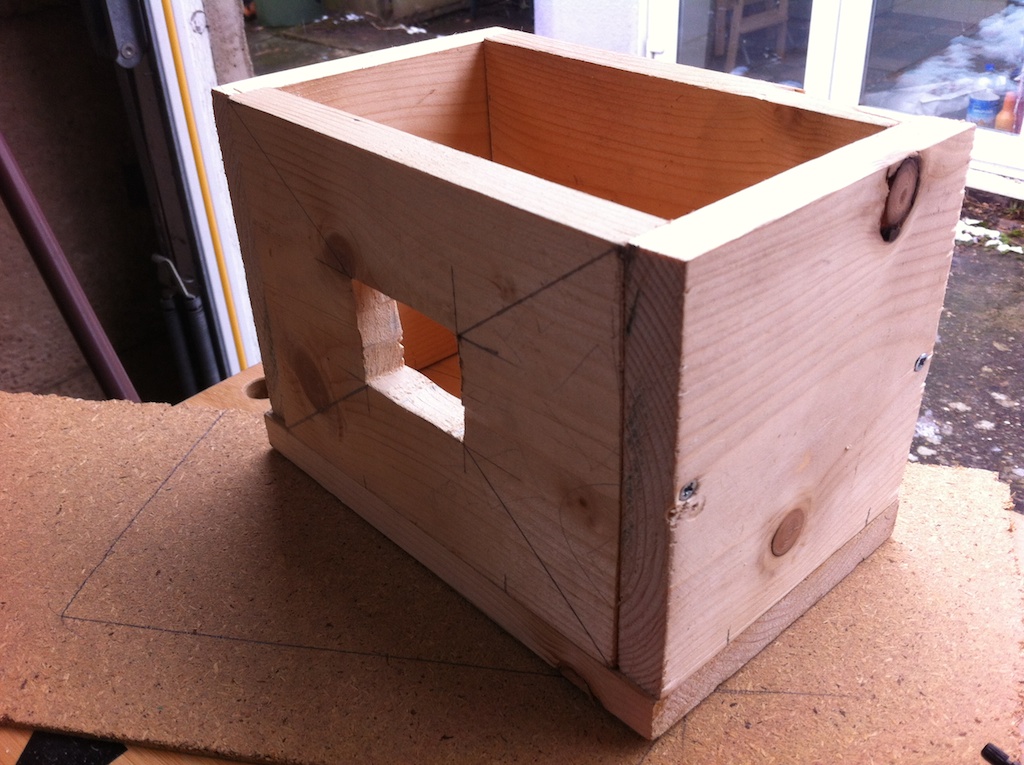
After some discussion with the unit tutor I’d decided to follow the beer can photography route and photograph Leicester landmarks. I did some research and decided that I needed 5, 10 and 15 second exposures at each landmark to try and cover all bases. Because it’s very difficult to change the ‘film’ (photographic paper) in a beer can camera without over exposing it, I’d decided I’d take a lot of pre-loaded cans out with me. Here is my stack of beer can camera’s:
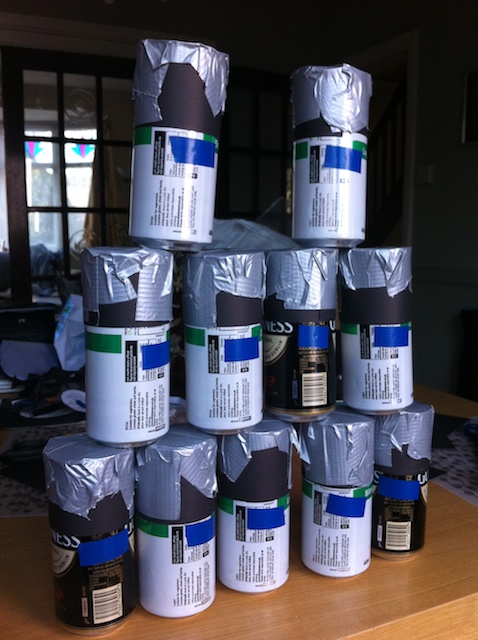
I must add that I didn’t drink all of the beer in these cans. I went to ASDA and bought some smart price larger and bitter 4 packs (only £1.99 each!).
So, last Sunday (21st April) my wife and I went for a bus trip all around Leicester taking shots at 4 locations. I’d taken the shots, but I wouldn’t know the results till today.
Because i’d happened to book the day off work I’d spoken to the tutors and arranged to go in early, use the darkroom and develop my shots. I’m so glad I did, everyone was well over-exposed. I had 12 black sheets of paper for my troubles!
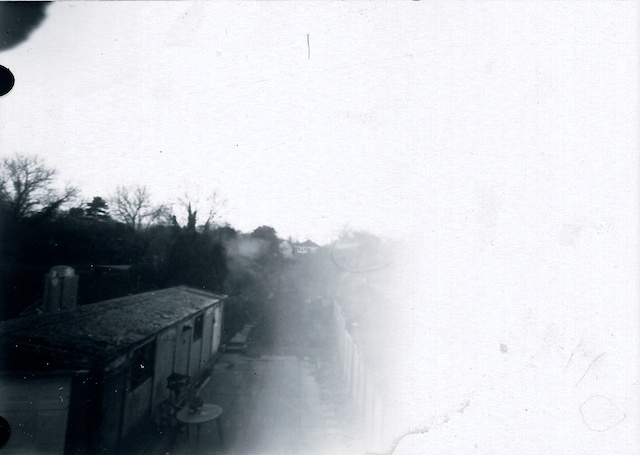
So, I bought some more photo-paper and ran over to the bus station. Took shots at 1,2 and 5 seconds. Got them back to the darkroom, success! 2 seconds seemed to be ideal for that shot. So I loaded up my remaining cans and went for a drive around Leicester. I went to the King Power Stadium, Tigers Stadium, The Space Centre and Abbey Pumping Station. I then got back to college and was reasonably happy with the results. These were then scanned, inverted, cropped, tweaked and printed A3.
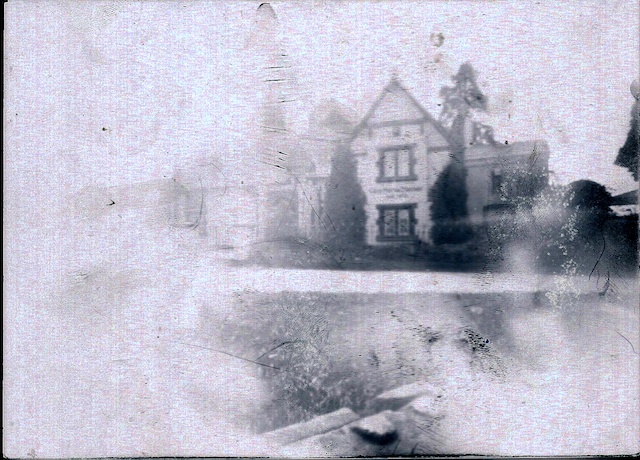
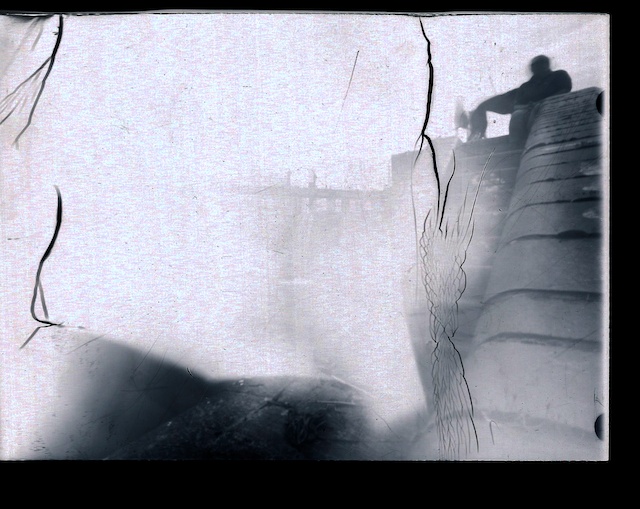
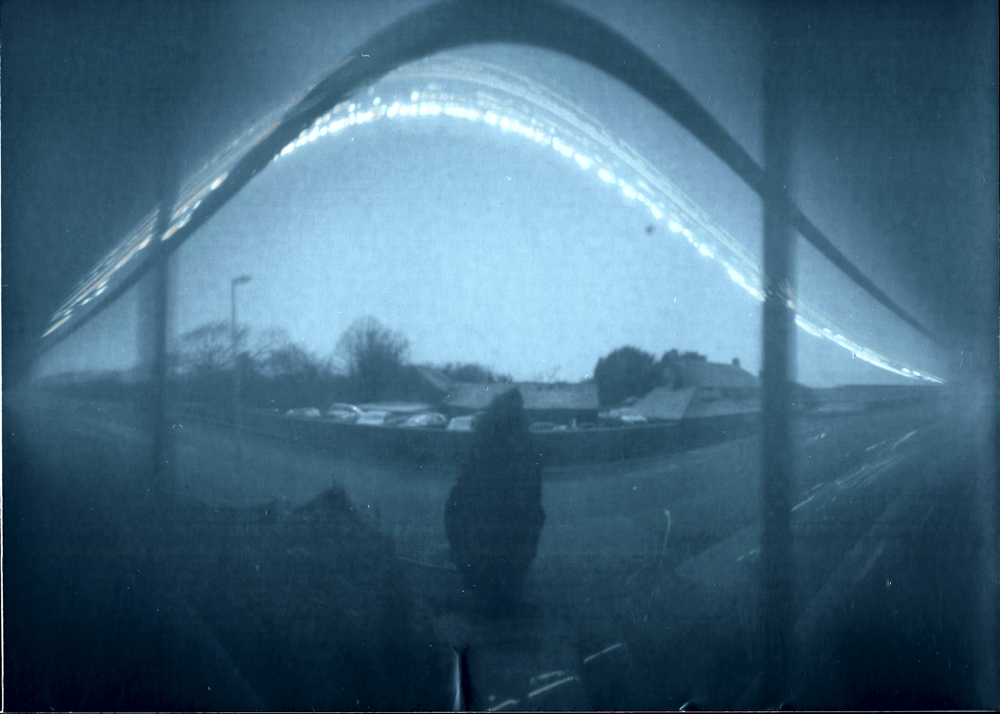
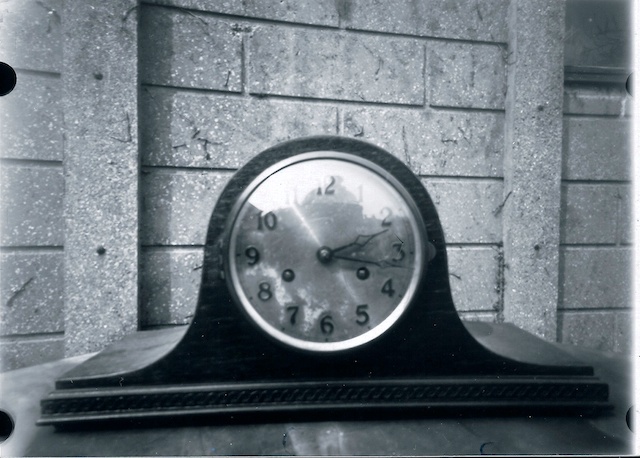
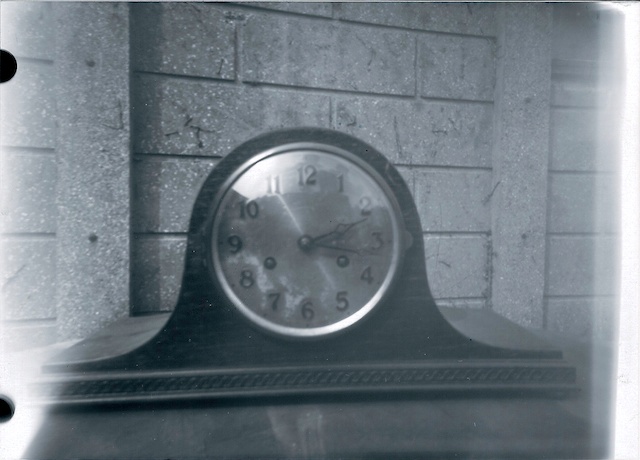
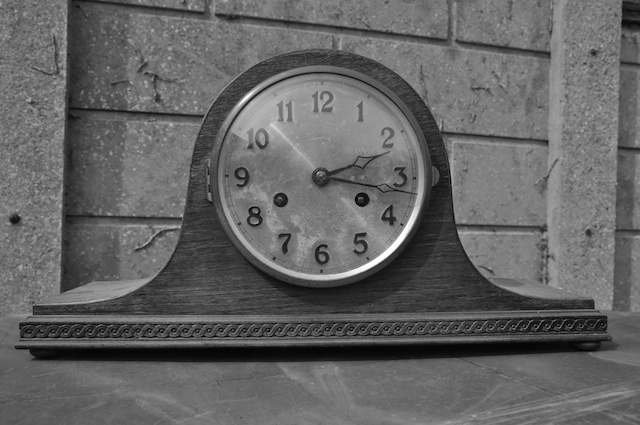
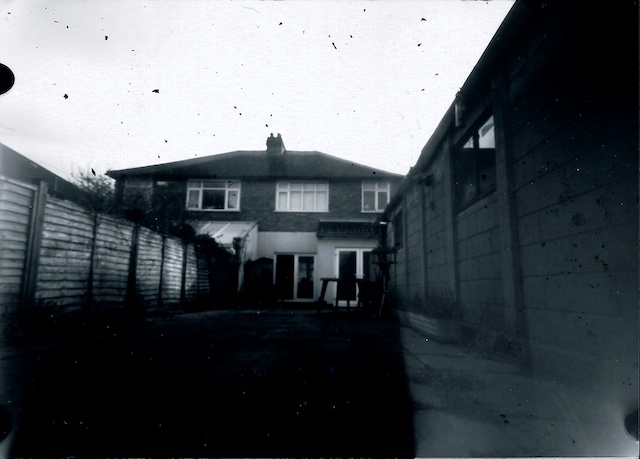
Below are my final images. I’m fairly happy with them, although they do lack a lot of definition. I would have liked to spend more time and perfect the shots, but this wasn’t possible.
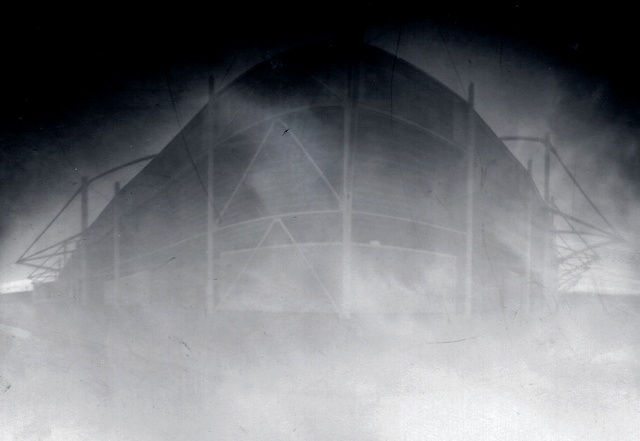
King Power Stadium
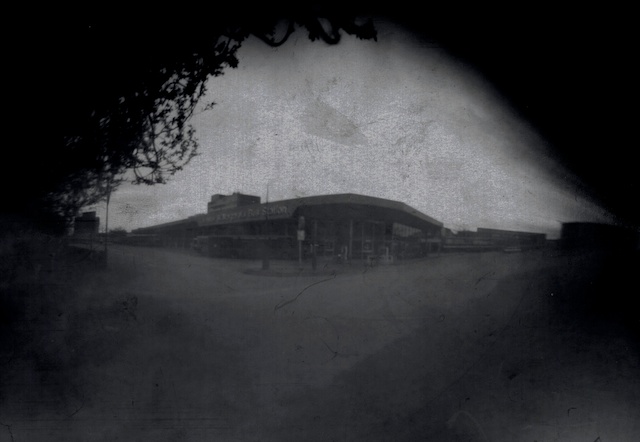
St Margarets Bus Station
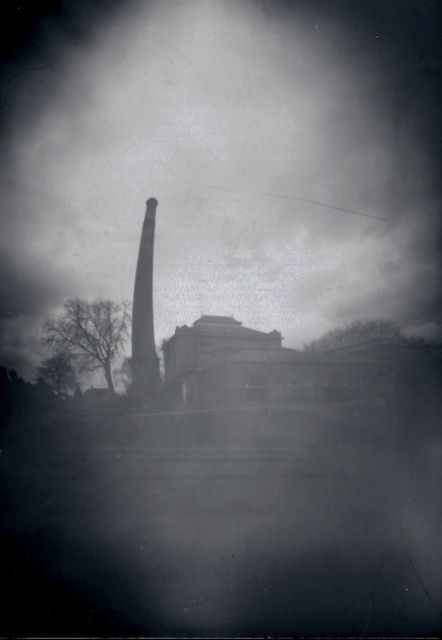
Abbey Pumping Station
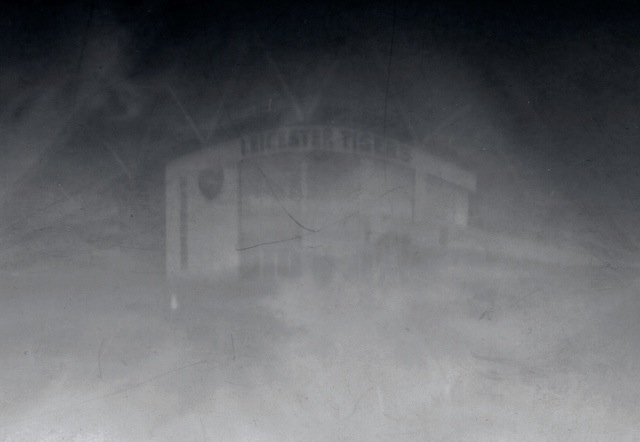
Welford Road (Tigers)
Edit: I received a Merit for this project.