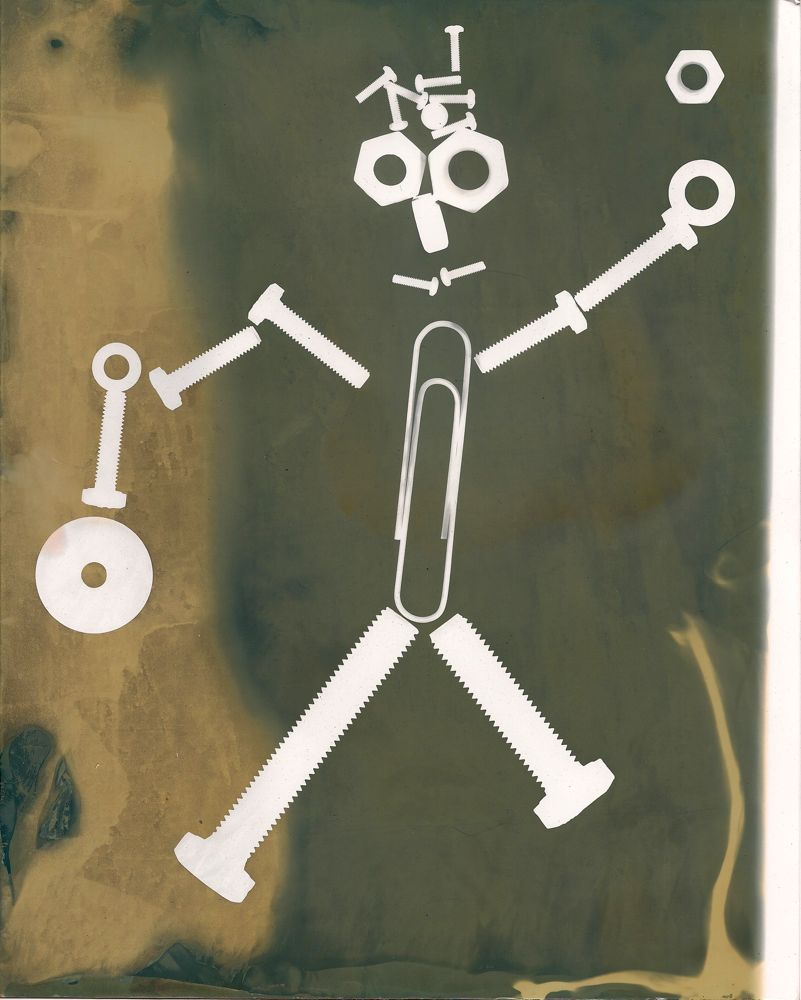
This week we tried another couple of non camera photographic techniques. The first one being a Cyanotype or Blueprint. Paper is painted with a solution, left to dry and then either items or an acetate print are placed on top and the whole thing exposed to UV light for 15-20 minutes. The paper is then washed in water and then dried. I did a fairly simple one onto a piece of paper from my watch project. I placed some negatives, a protractor and a large paperclip onto the paper before exposing to UV:
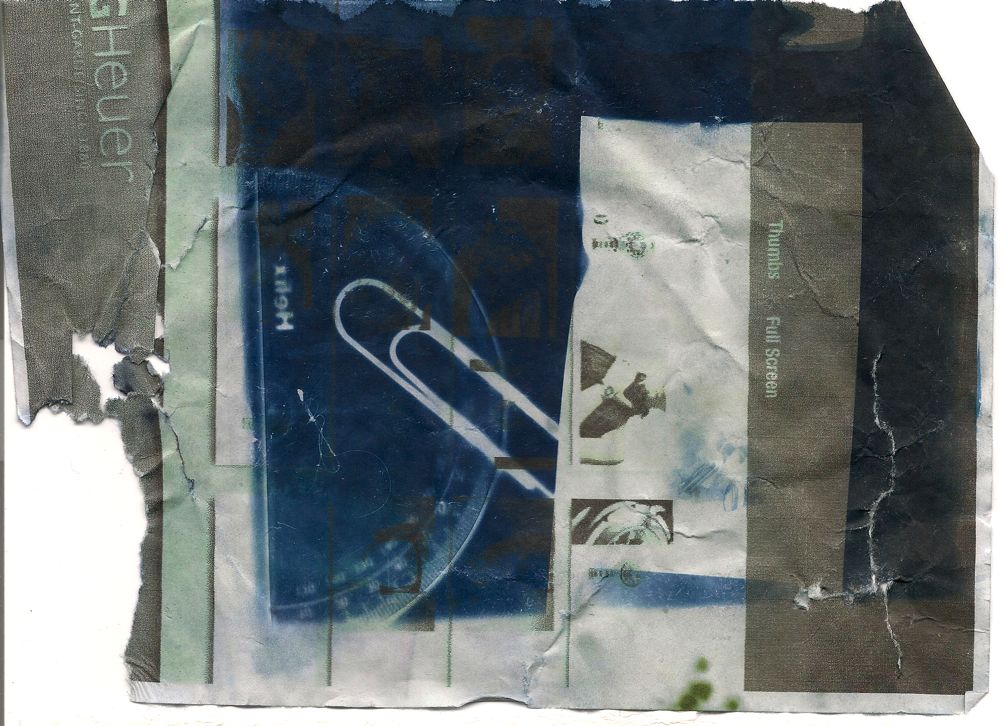
Cyanotype
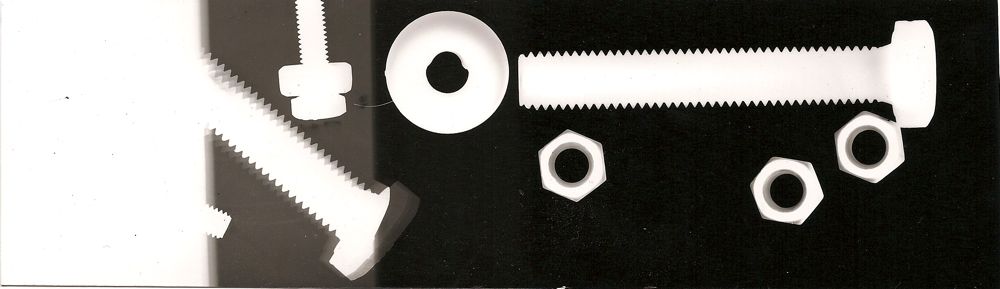
We then tried a Polaroid Lift. Because the camera’s are so hard to come by the college has a machine that prints a 35mm negative or an acetate onto a polaroid. What you can then do is soak the picture in hot water and the image on a thin film comes away from the white card. There are a couple of things that can then be done with this:
- The thin film can then be arranged on a piece of card. Either as flat as possible or most likely crumpled.
- The black paper that is peeled off the polaroid picture can be pressed onto paper and whatever residue is left is transferred.
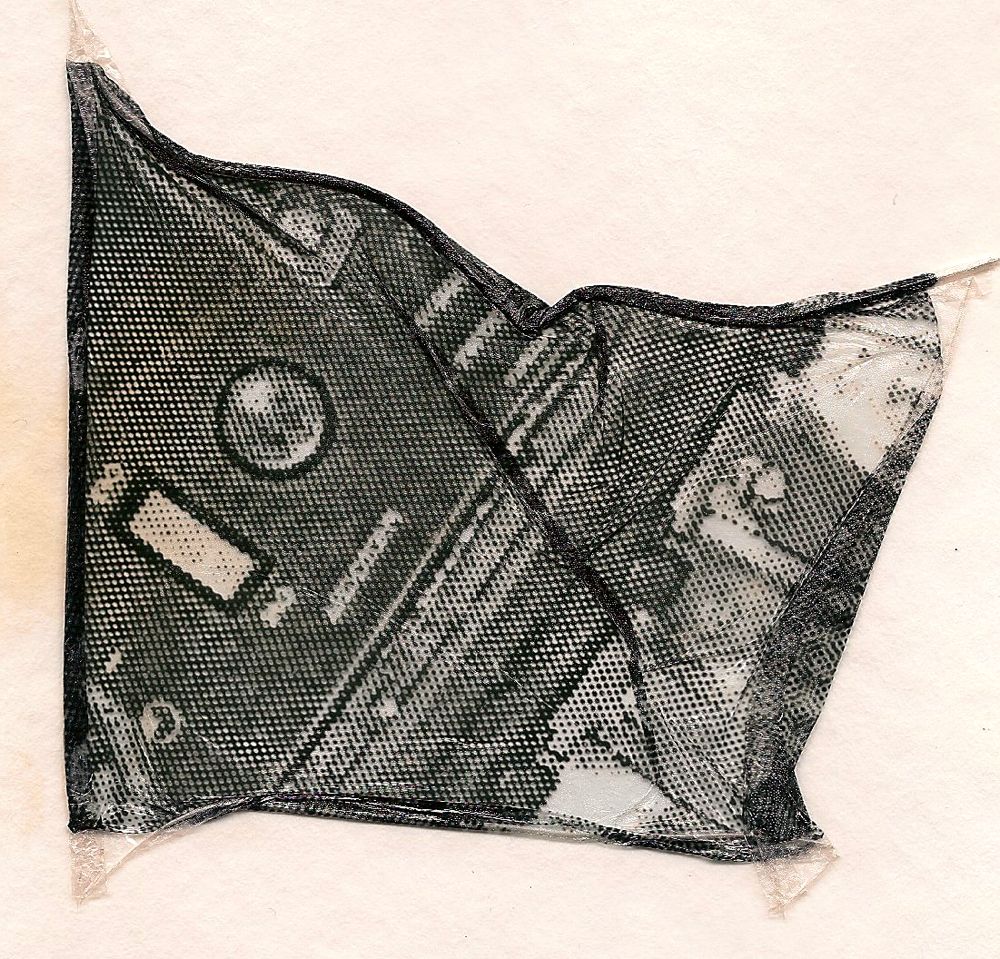
Polaroid Lift on paper
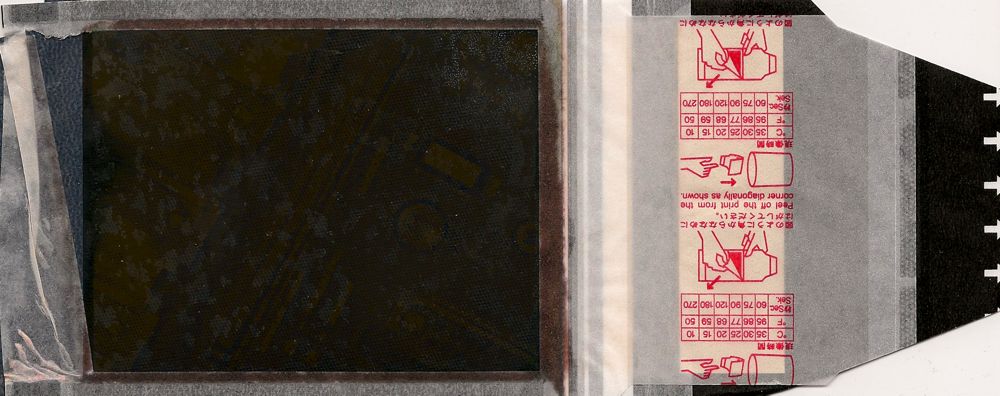
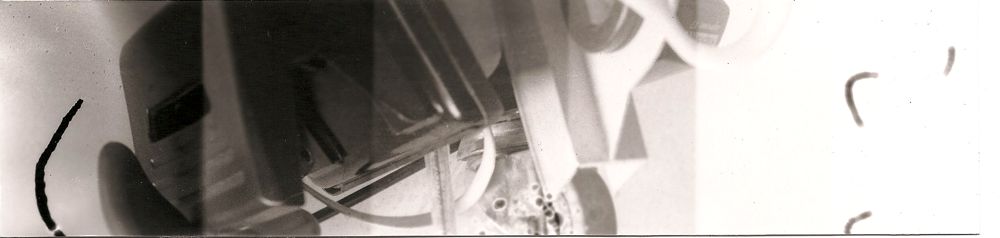
Polaroid residue left on backing
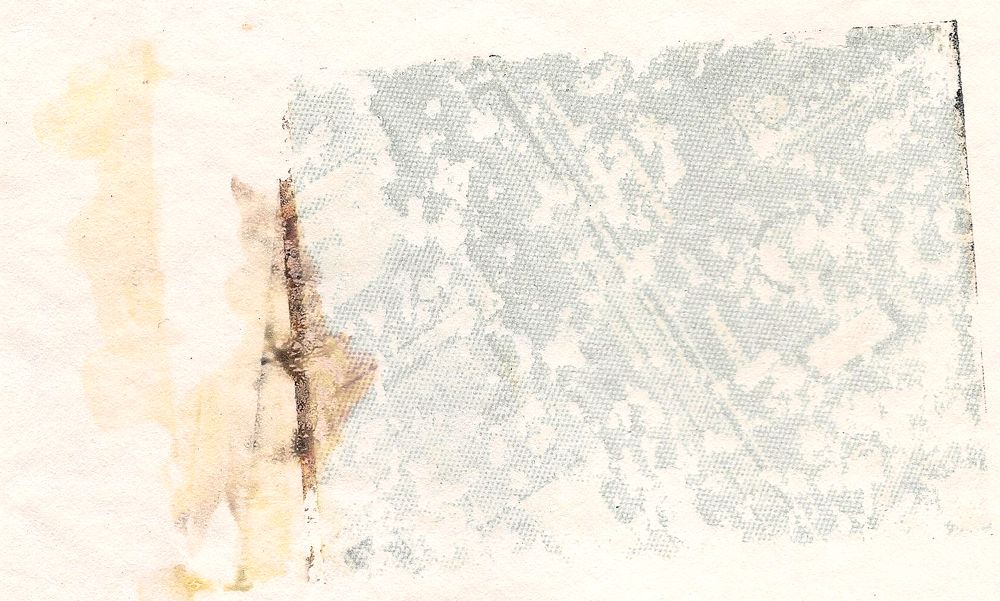
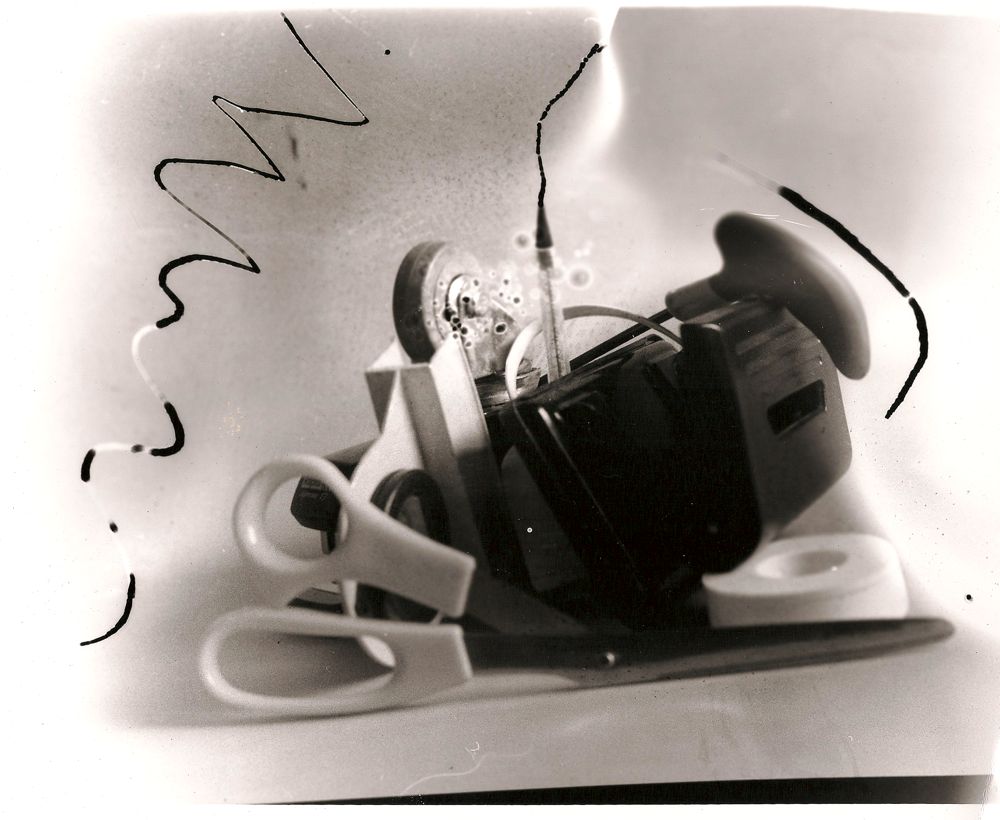
Polaroid backing residue